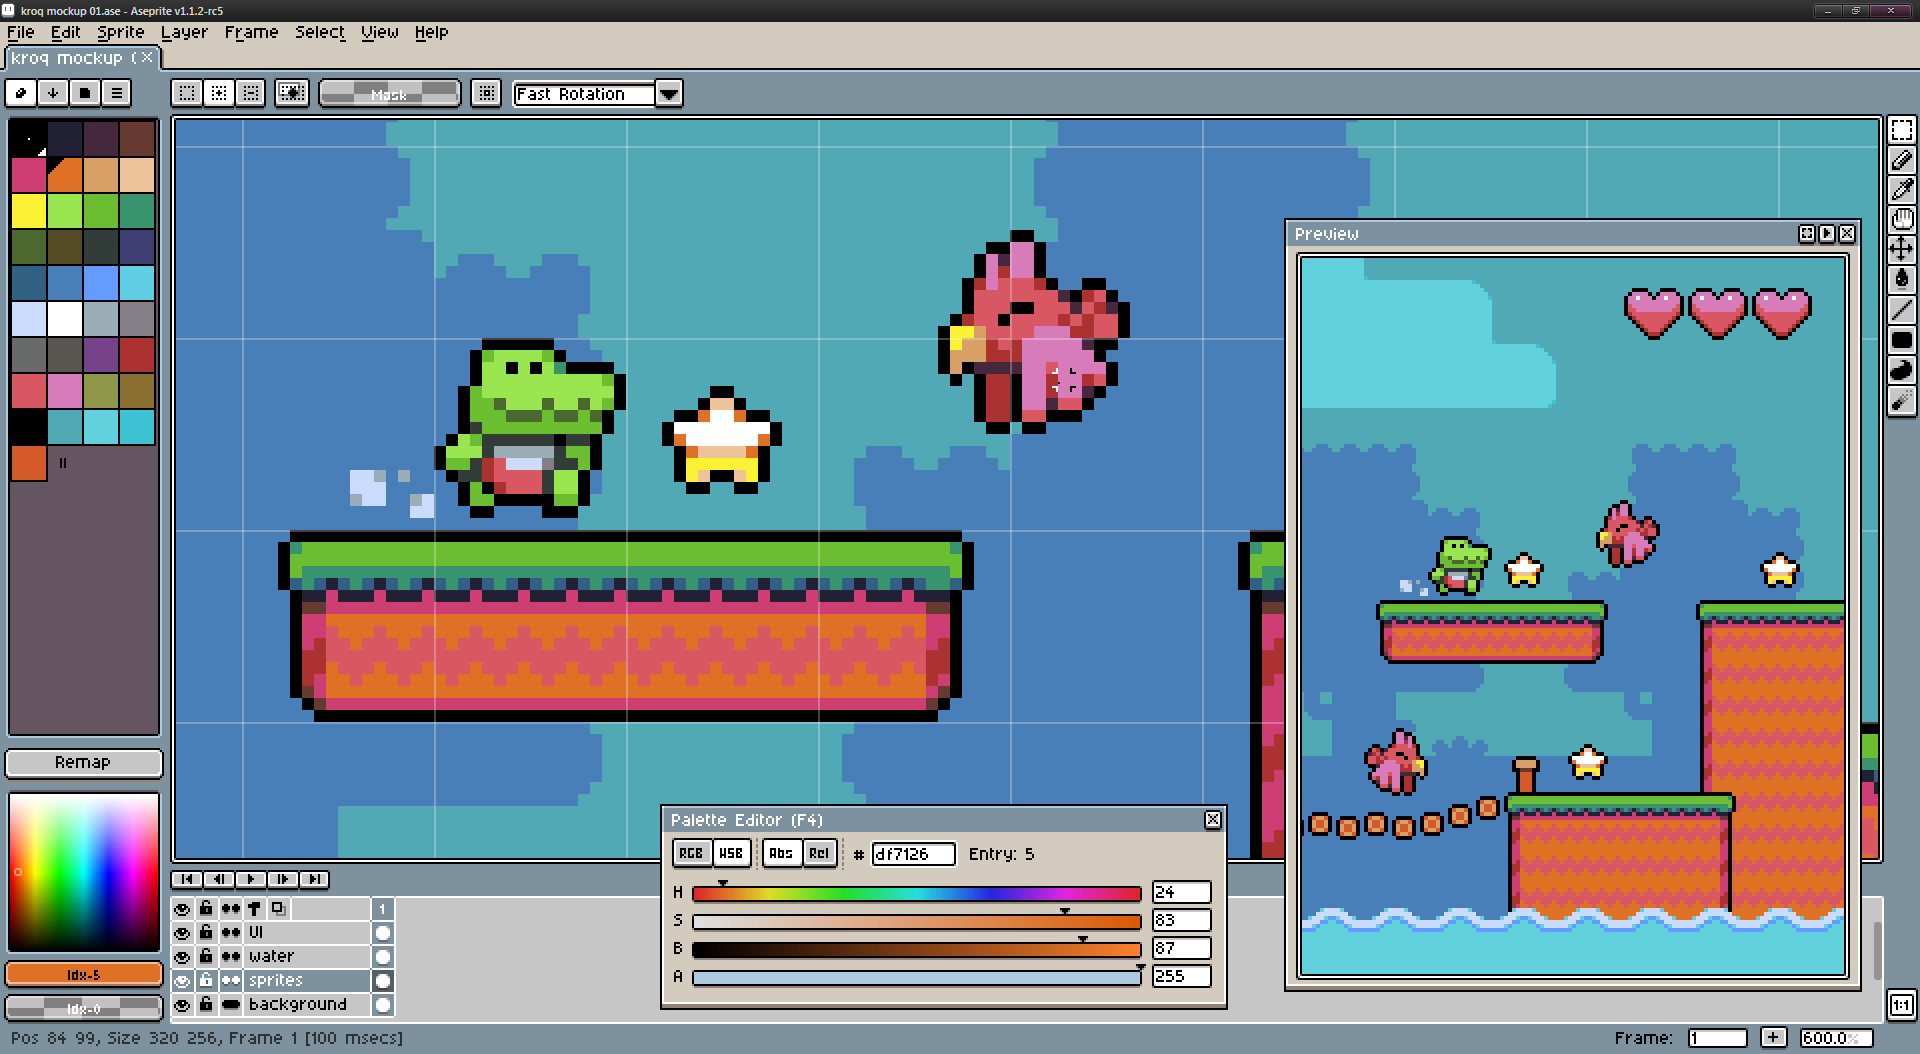
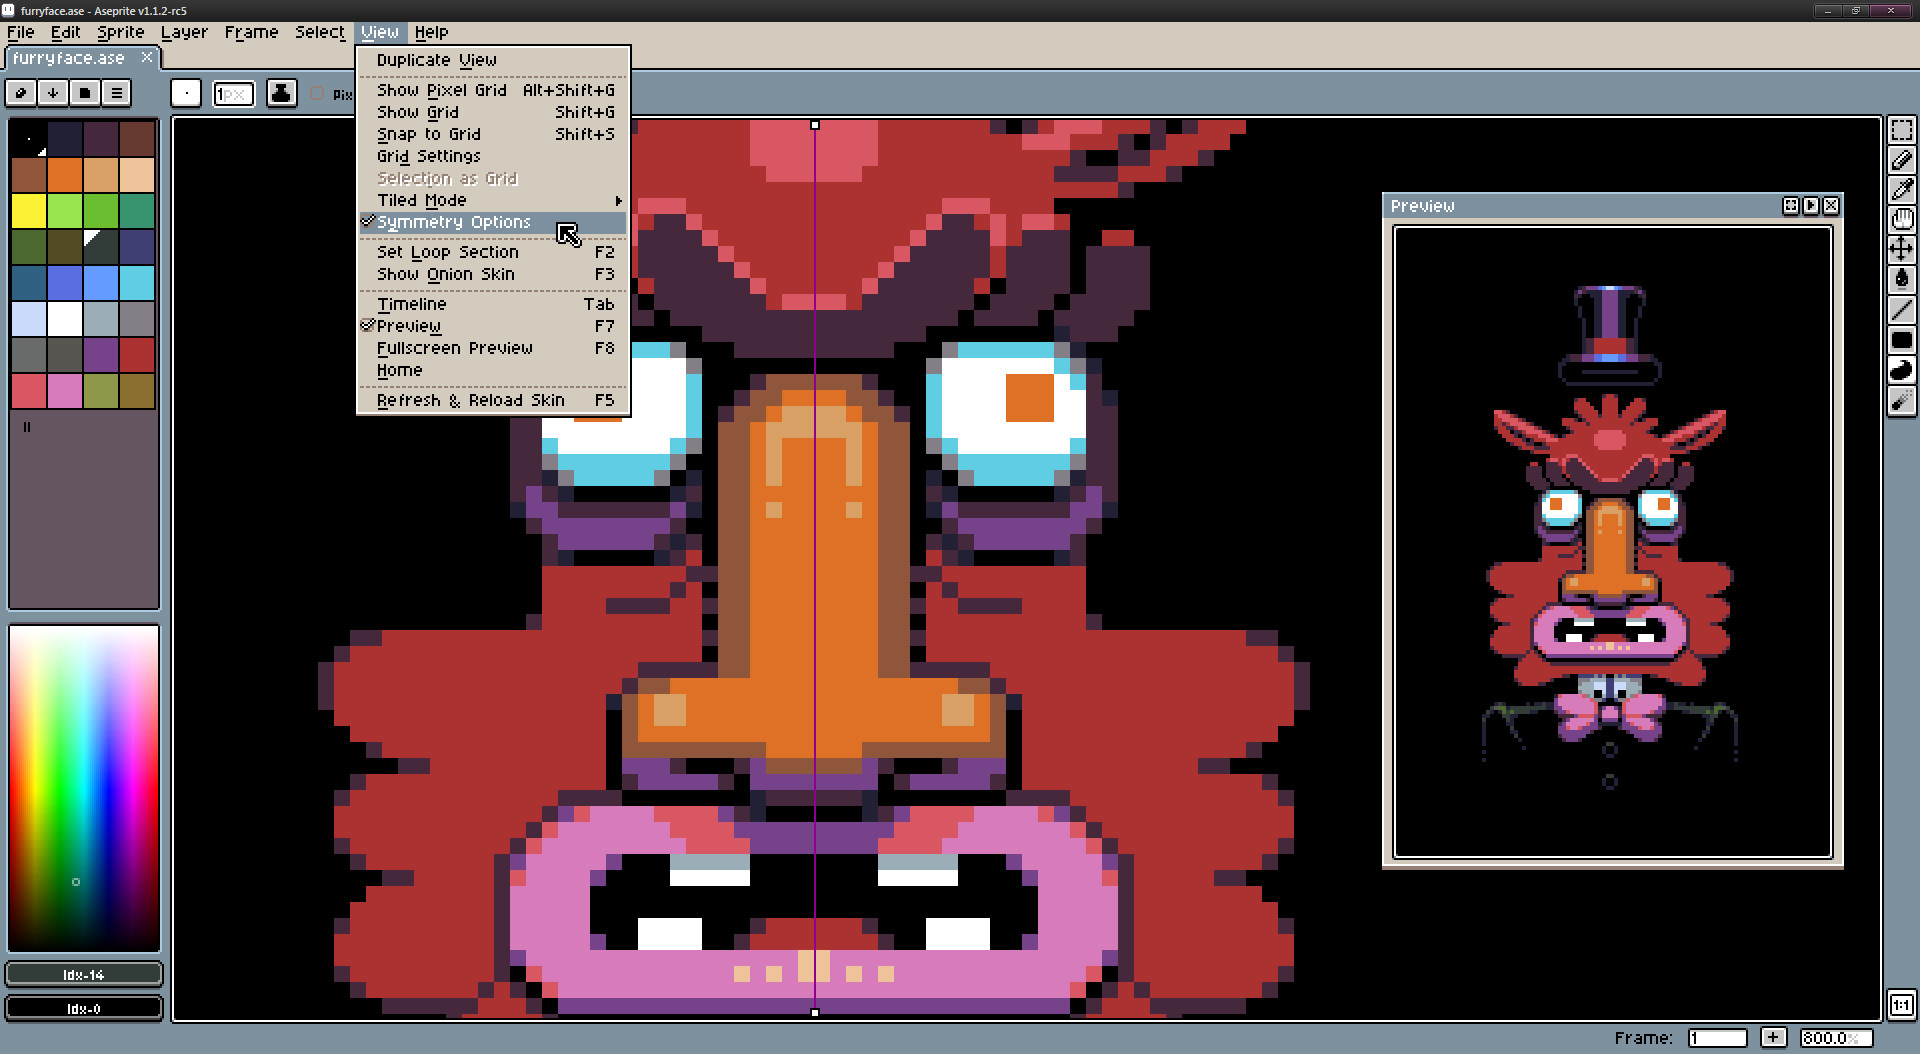
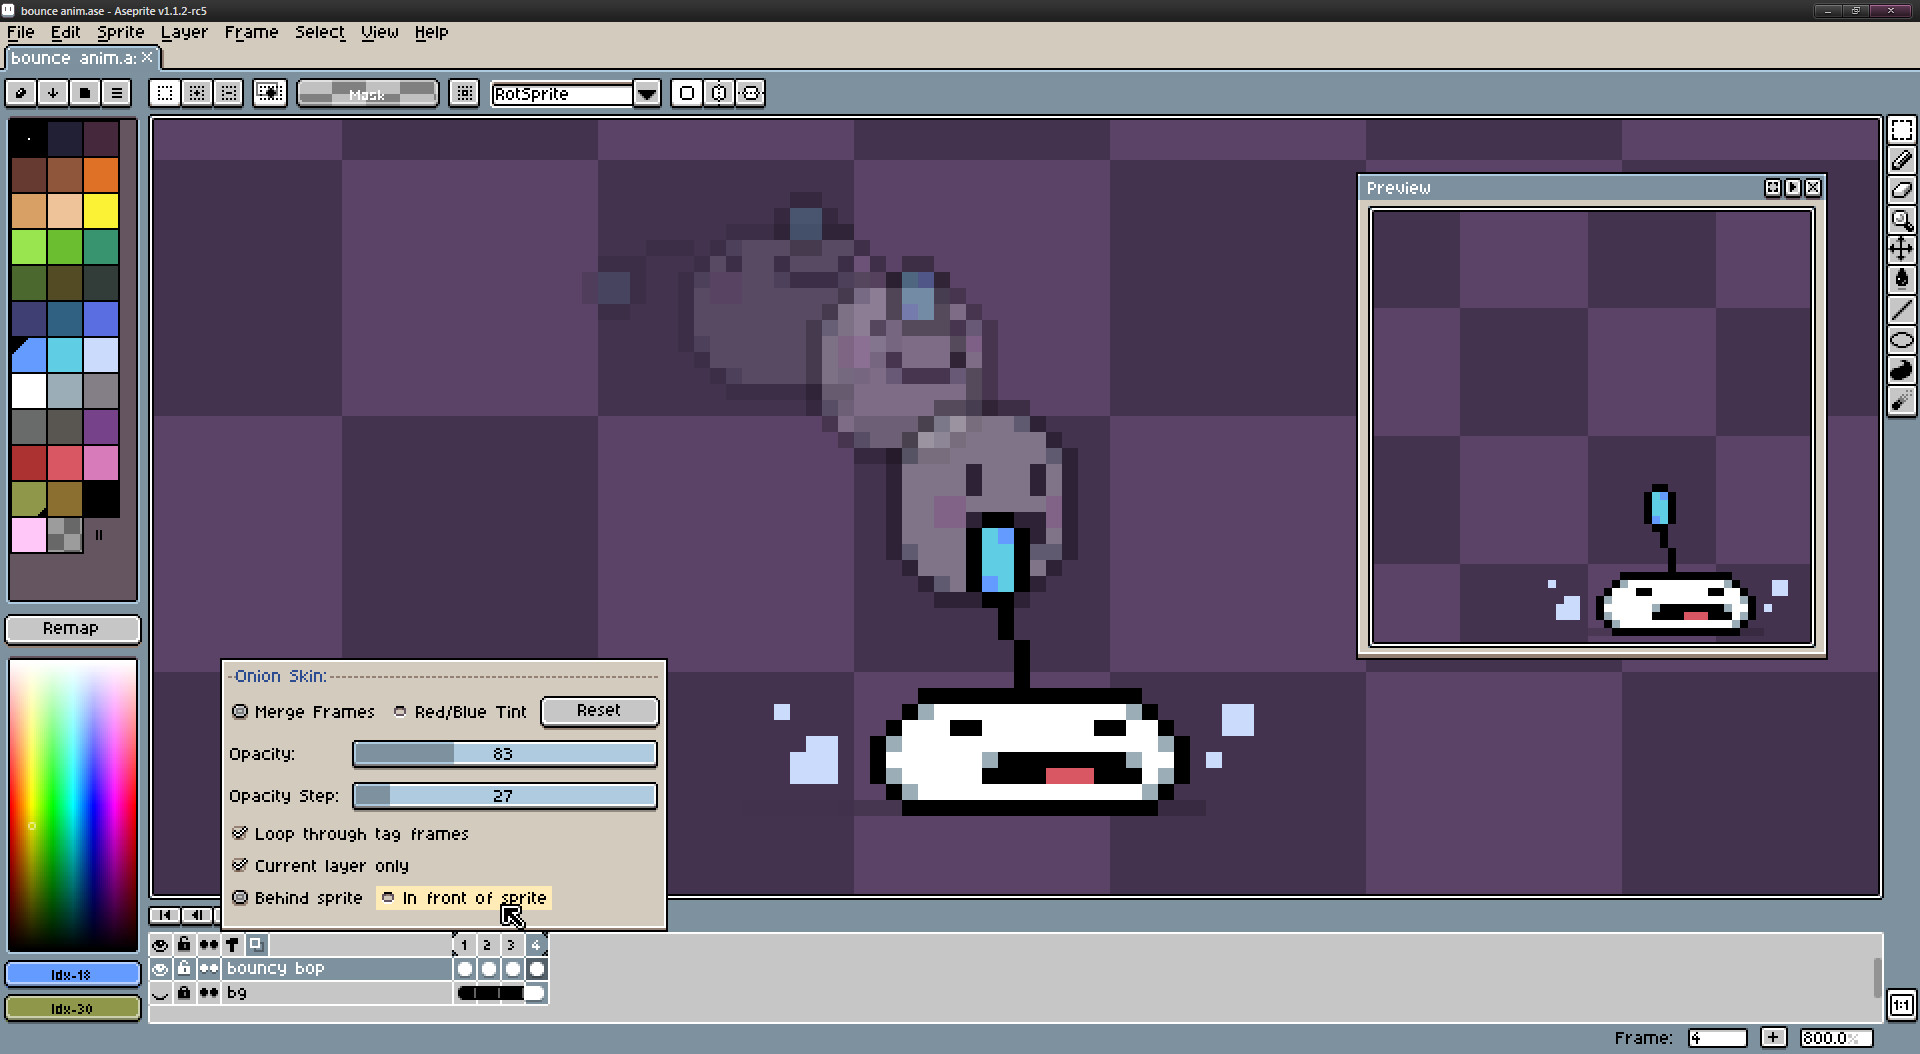
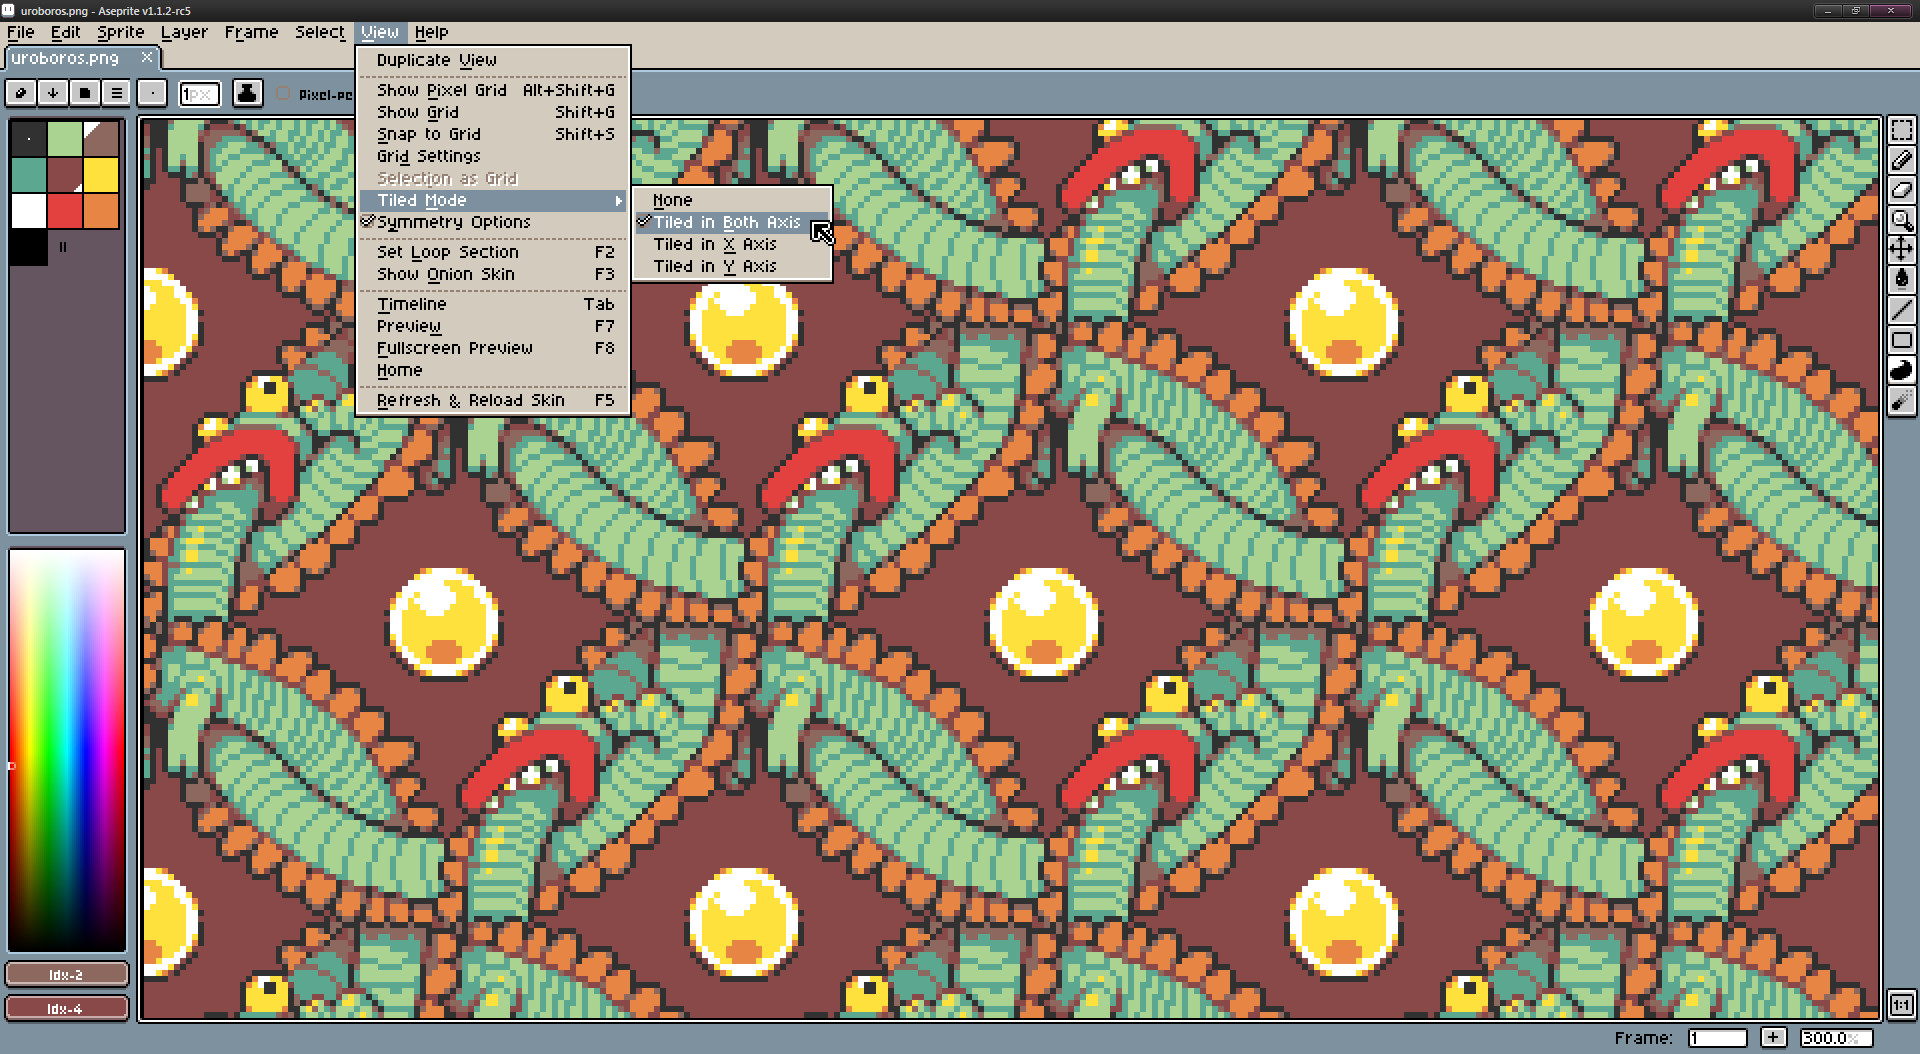
To keep this review brief, it is clear how this application has become something of an industry go-to/standard for pixel artists and game makers who use pixelated styles. The interface is simplistic and easy to learn without compromising on effectiveness, intuitive even if you're using a mouse or trackpad instead of a drawing tablet, and has keyboard shortcuts for some uncommon tools I wish were more readily available in my other art applications. My favourite shortcuts are: - Shift+R; which allows you to select a colour from your image, and replace any instance of that colour on that frame (or, alternatively, wherever you have selected/lassoed and across multiple layers and/or frames in animations), with whatever colour you like. This is especially handy when animating videogame sprites, because needing to change, for example, a character's shirt colour, can be as easy as highlighting those layers and frames, and replacing them all in the span of two button presses and five clicks, as apposed to having to recolour the frames by hand, one by one. - Shift+O; This outlines whatever you have drawn. You can pick what "faces" of the image recieve the outline, how thick the outline is, whether it extends inwards or outwards, and what colour it is. It can be quite handy, and a good time saver. - Ctrl+Shift+I (the letter i, not the letter L); this inverts your active selection. It's convenient when you're having to work inside sprites, as Aseprite currently does not have a clipping mask feature. - Ctrl+Shift+C; instead of copying from within your selection/lasso on *just the active/selected layer*, this copies *all visible pixels* within your selection - particularly helpful if you want to be able to quickly frankenstein your sprite to test ideas. - And of course the classic Ctrl+Z (undo) and Shift+Ctrl+Z (redo), as well as Ctrl+C (copy) and Ctrl+V (paste). There are other shortcuts, but those are the ones I use most often. Another tool I use is the grid; helpful for tilesets and spritesheets. You can set your grid size by making a selection on your canvas, and while that area is selected, go to the bar at the top of the application, and click View>Grid>Selection as Grid. There are also different colour settings for your files. It can be hard to wrap your head around "Indexed" works, but when you get it, it's pretty much a constantly active "colour replace" tool, where if you alter the colours in your pallete, it changes the occurances of that colour in your artwork to match. This gets complicated in images with lots of colours, but for sprites that have limited palletes, it saves time when testing different colours and shading intensities. The animation feature has a customisable onion-skin tool; it does the job well. You can choose the opacity for the onion skins, whether they're tinted to show which frame is before or after the selected one, and whether it appear behind or in front of your current frame. You can also choose whether its showing everything that is visible in the next/previous frame, or just what is on the specific layer you have selected. The animations also have a tagging feature, which is VERY helpful when creating character/unit sprites that have multiple animations you'd like to keep on-model. There are lots of exporting modes you can use; there's the obvious ability to save things as an aseprite file, but you can export your files as MANY file types (I predominantly use PNGs and Gifs). If your work has multiple frames, you can choose whether you're exporting every frame, just the frames you have currently selected, or frames within a specific tag name. You can do the same for layers, too. You can also choose what scale you're exporting these files at (for example, if you're making a character that is 10x20 pixels, you can export it at its normal 100% scaling for the game, but 500% (5X) for if you wanted to share it with your dev-team, social media, and/or friends in a way where they can actually see it without them having to zoom in or risk their device making it blurry in its attempts to up-scale it. Another notable export mode is "Export Sprite Sheet", which takes all of the seperate frames of your animation, and turns it into a single framed, layed out sprite sheet you can import into your gamebuilding software (Eg, Unity). Worth mentioning, Aseprite does also have modes for the layers (the classic ones such as overlay, colour burn, difference, saturation, colour, etc), and you can change your layer names and opacities. That is likely assumed as a given, but just in case anyone wasn't sure, I can confirm those are things it has. The only downside that comes to mind, is that Aseprite does not have a clipping mask feature; as I mentioned in the keyboard shortcuts section moment ago. The easiest (but still effective) way to circumnavigate this, is by using the magic wand select tool to select the empty space on the layer you want to clipping mask, inverting that selection so that you have only the filled-in areas selected, and then select the layer you want to treat as the "clipping mask" layer. You should still have that selection, which effectively means you cannot draw outside of the filled-in areas. So, in short, it doesn't technically have a clipping mask tool, but you can rig something that works like one in 30-60 seconds. If you want to clipping mask a folder of layers, or your whole image, you can do that by having only those parts of the image visible, then highlighting your whole asset and pressing Ctrl+Shift+C, which will copy all visible pixels. You can then use Ctrl+V to paste that image onto your "clipping mask" layer, magic wand to select the empty space around it, and then using Ctrl+Shift+I (again, this is i, not L) to invert the selection. From there, you can use your eraser to get rid of the image you've copied, but retain the selected outline. It can get annoying if you need to return to this clipping mask, but if it's one you have to return to often, you can have a layer you keep invisible most of the time where you can keep that pasted copy, so you can turn it on and get the selection, then turn it back off and move to your clipping mask layer while it's still active. I use this application for work, to create character sprites (dialogue portraits and animated units), videogame environment assets and buildings (predominantly following a top-down tiling perspective), and larger drawn scenes for videogame capsule art and concept images. I realise I didn't actually keep this as brief as I had intended, haha. I digress; I like this application a lot, and with the amount of time I've spent using it, it's more than earned the time it took me to write this. I highly recommend it. It's more than worth the price (especially considering how hard it is to get one-time-purchase, high-quality drawing applications these days). I will likely continue using this application for many years. I can try to answer questions if people have them, but I can't promise I'll see the comment notification promptly, as I do not often check my Steam notifications. - Ebonisa